General Artist Information
Name: Kimberly Eslinger
Artist Discipline: Visual Arts
Grade Level Preference: K-12
Address: Bismarck, ND
Geographic Availability: throughout North Dakota
Fee per-day: negotiable
Email: kimberly.eslinger65@gmail.com
Phone Number: (701) 471-2475
Biography
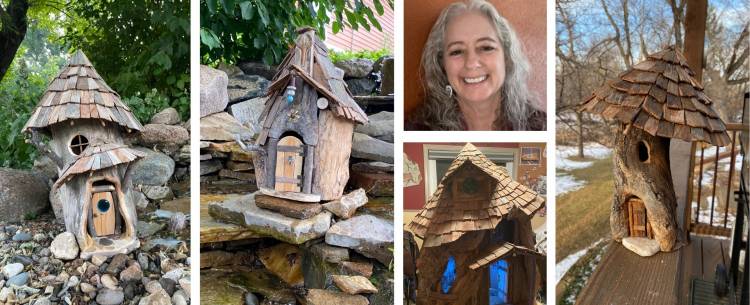
Kimberly Eslinger grew up in North Dakota and loves being outdoors, finding inspiration in the plants, animals, and landscapes. She is a lifelong people and animal lover. Her love for horses is reflected in her work. She works mainly as a sculptor and portrait artist and enjoys experimenting with glass and clay.
Kim taught graphic design for Bismarck State College and Bismarck Public Schools. In 2017, Kim began work on developing the exhibit collection for ND’s Gateway to Science. With the completion of the $20 million facility, she decided to leave her position as the Gallery and Exhibits Director to devote more time to informal teaching opportunities and working on experimental projects.
Teaching Philosophy
Art gives makers a way to share their feelings without words.
My goal is to create an environment that challenges students and supports experimentation and problem solving. I use various methods to provide students with background information, demonstrate skills and equipment, and then I step back to support students as they work. My role is to ask leading questions and encourage students as they develop their approach to completing their projects. Making mistakes is encouraged because that is where some of the best learning happens.
While not every student will go on to work in the arts, they will learn valuable skills that will follow them wherever they go in life.
I may use the following in my lesson presentation:
- Hands-on learning
- Peer critique and discussion
- Demonstration of equipment
- Demonstration of studio and medium skills
- Presentation of appropriate history or technology
- Presentation of math and science concepts
- Introduction of the principles and elements of design
Basic lesson outline:
- Describe the lesson challenge and present background information.
- Demonstrate the skills and equipment needed to complete the project.
- Give students time to think about how they might approach this challenge.
- I ask students how they might use the presented information in their solution.
- I encourage the students as I monitor their progress.
Sample Lesson Plan
Residency Title: Printmaking
Grade Level: K-12 (This can be modified.)
Number of Sessions: 4
Description
Printmaking allows artists to create multiple pieces of art from one design. When they started making prints, it allowed artists the flexibility to make many copies of their work and make changes to prints without affecting the original design. We know that people have been making prints since 764 or 770CE by making rubbings of designs cut into wood blocks in China.
Students will create prints of their own using the following methods:
- Relief process - cutting into or adding to a surface and using it to create a print.
- Stenciling - Cutting a paper stencil that will block or allow pigment to pass through.
- Gelli Printing - This will allow students to use either the stencil or relief process to make a print.
Example Lesson Plan: Styrofoam Printing
- Choose an object with a texture and make a rubbing of it.
- Discuss how the rubbing print works and talk about the history of printing
- Introduce the concept of relief printing.
- Where have you seen it in everyday life? “Ink Stamps”
- Demonstrate how to make a design on styrofoam
- Allow students to create a design
- Demonstrate how to ink and print the plate.
- Print the plate several times and encourage students to experiment with different colors and additions to their design.
- Peer presentation - what do you like and what would you like to change?
- How do you sign a print
Variations
- If developmentally appropriate, I show students how to safely use cutting tools and make designs on lino blocks.
- If time allows, students will use self-adhesive foam, textured materials, and wood blocks to prepare their designs for printing. They can use cutting tools to create shapes to attach to the wood blocks.